

You found a Framer template you love. Now you need to make it your own.
The good thing about Framer is that it's built for this exact moment. Almost everything in a template can be edited visually, without writing a single line of code. Text, images, forms, layout structure: all of it is editable in a few clicks.
This guide walks through every step in the order I'd recommend tackling them. The first steps are what everyone needs to do. The final step covers colors and fonts, which are optional and worth understanding before changing anything.
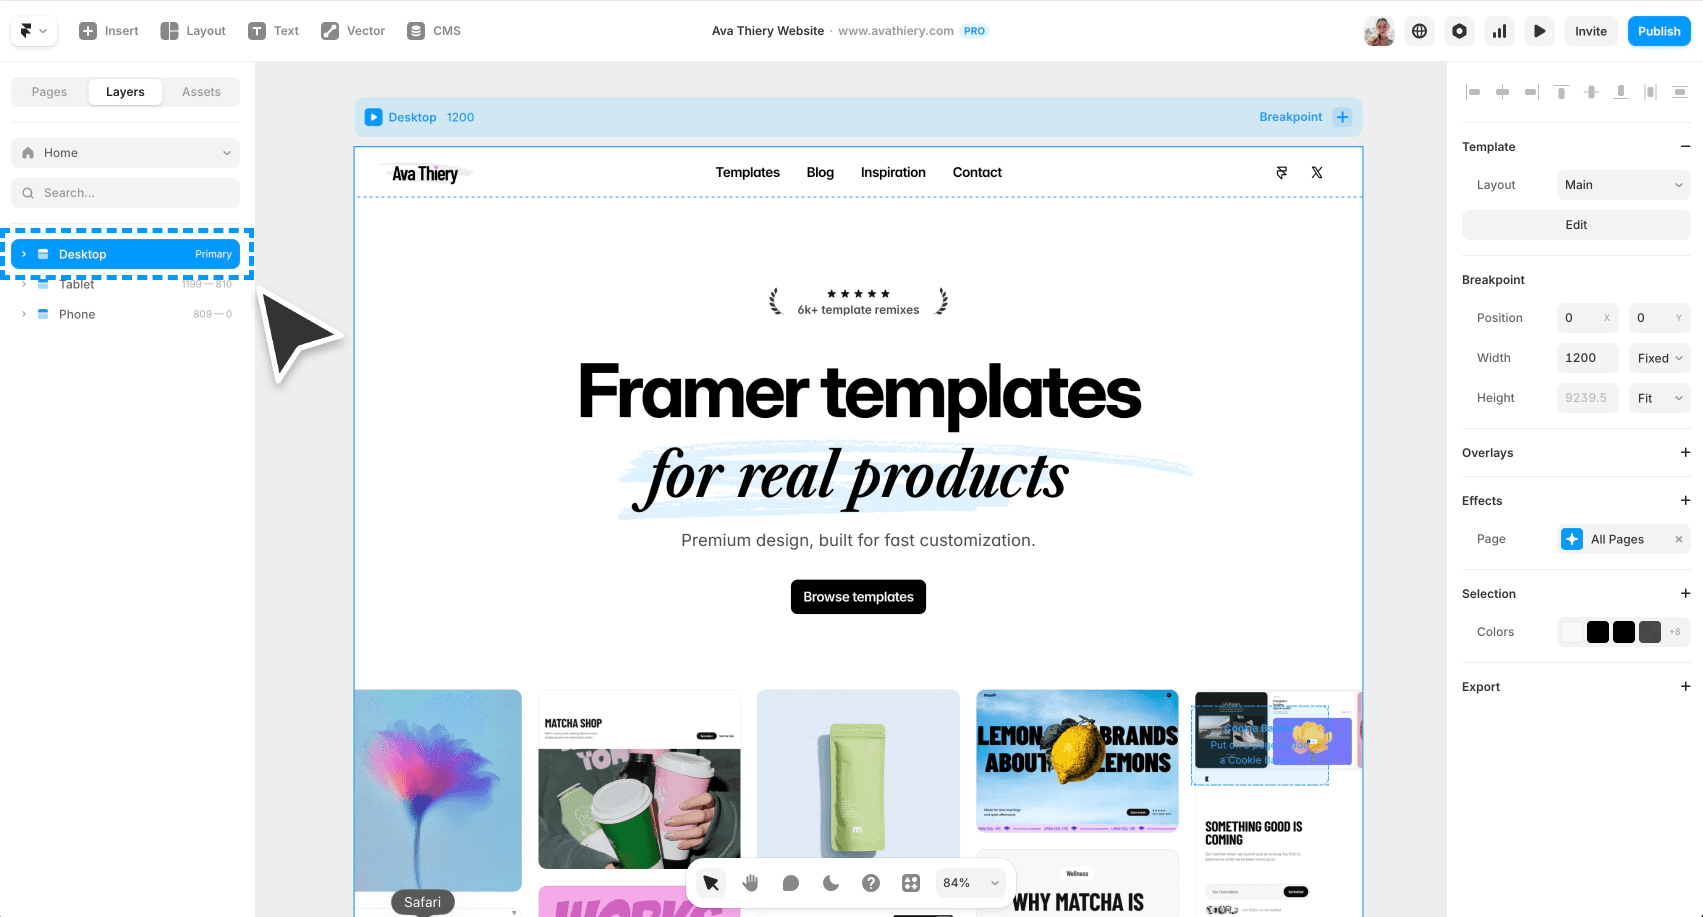
Step 1: Get the Template into Your Workspace
When you buy or find a free Framer template, you'll get/receive a remix link. For paid templates it usually arrives in your email after checkout. For free ones, it's right there on the marketplace page as a button(Use for free, Remix, etc.).
Click the link, then click Copy in the window that opens. This duplicates the template into your Framer account as a brand new project. You're always working on your own copy. The original is never affected.
Once the project lands in your dashboard, open it. Before changing anything, spend a few minutes clicking through every page and section just to understand what you're working with. Hit the Preview button in the top right to see the site live in a browser. Scroll through the whole thing. Get a feel for the layout, the sections, and the flow before touching anything. It saves a lot of confusion later.
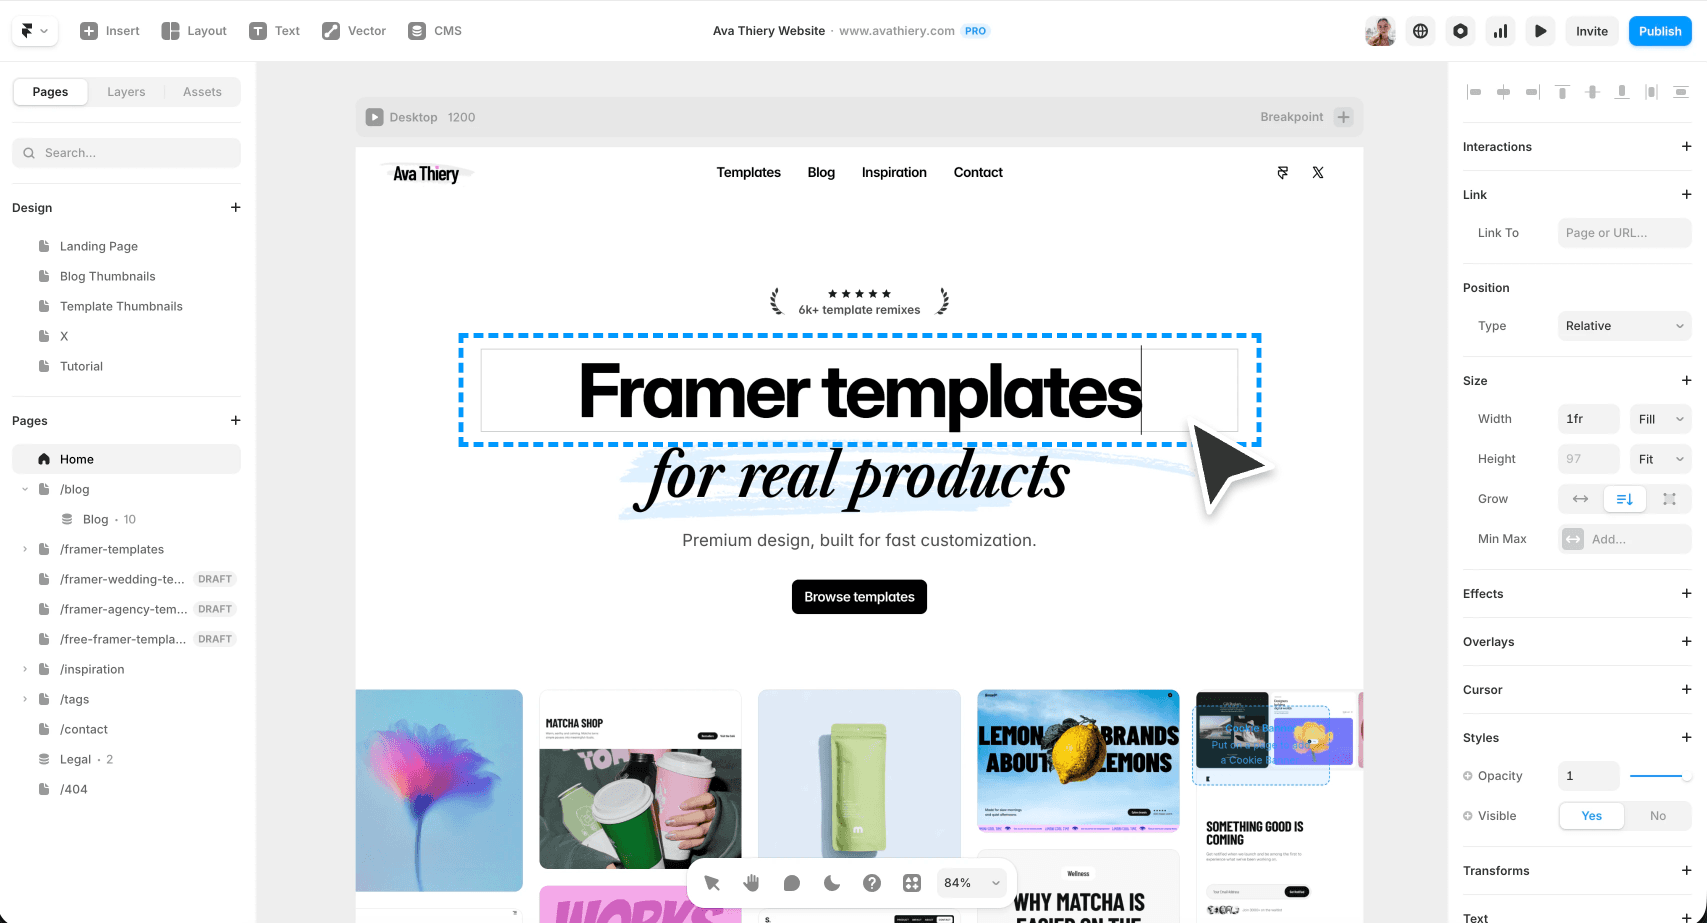
Step 2: Edit Text Content
Double-click any text on the canvas to edit it directly. It works exactly like clicking into a document. Go section by section and replace every piece of placeholder text with your own copy.
This is usually the longest part of customizing a template, but it's also the most important. The text is what makes the site yours. Take your time, and don't be afraid to rewrite paragraphs to match your voice.
A few things worth knowing before you start:
Component text sometimes needs an extra step. If a text layer isn't responding when you double-click it, select the layer and look for a component settings in the right panel. You will be able the change the text there.
Layout Templates control site-wide elements like your navigation and footer. If clicking your nav directly doesn't let you edit it, look for a Layout Template in your pages panel. Edits made there apply across all pages automatically, which is exactly what you want for shared elements.
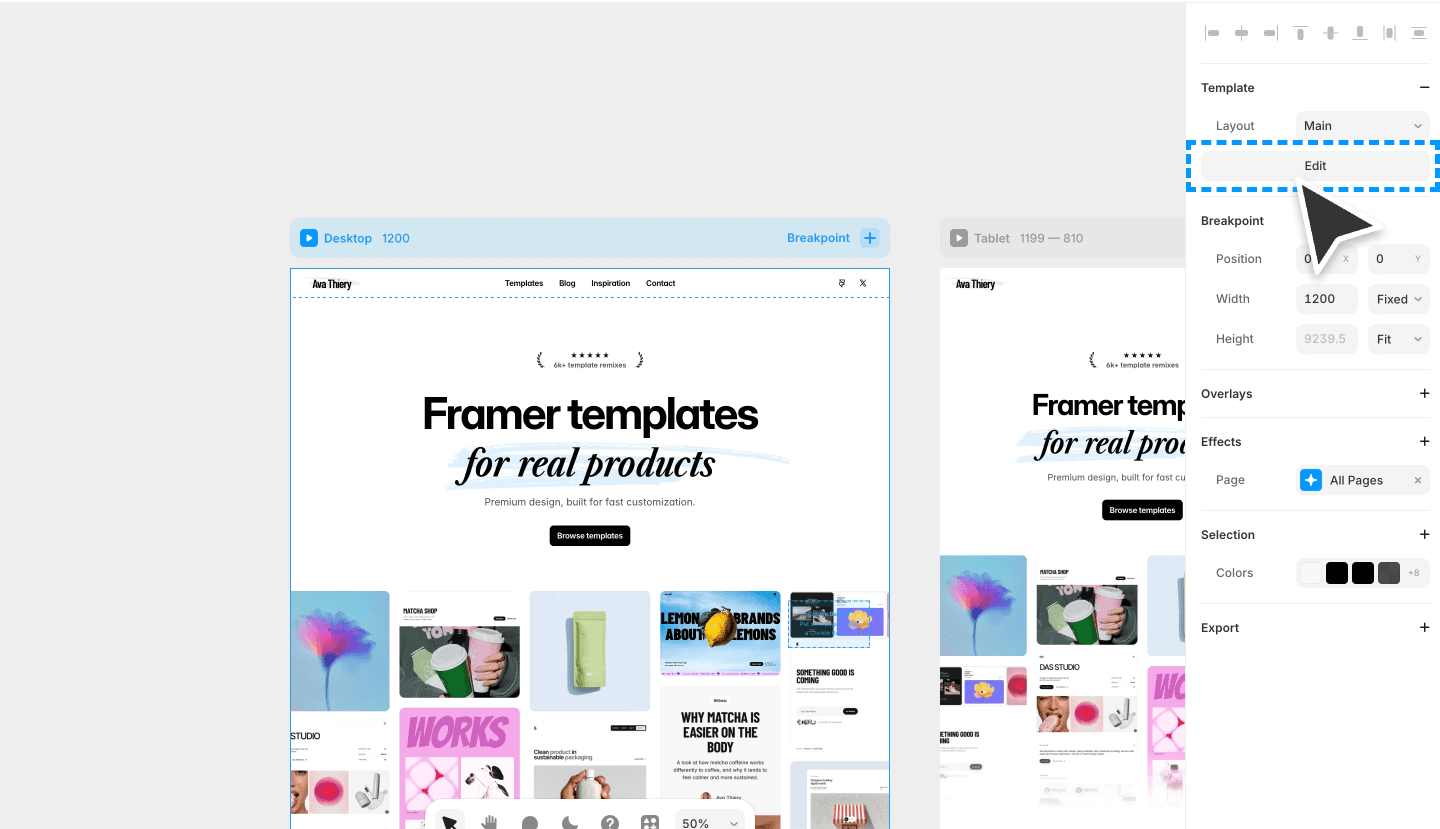
Always work on the desktop breakpoint first. Changes made on desktop automatically apply to tablet and mobile. Changes made on mobile or tablet do not flow upward. This is one of those things that's easy to forget and frustrating to fix later, so start with desktop every single time.
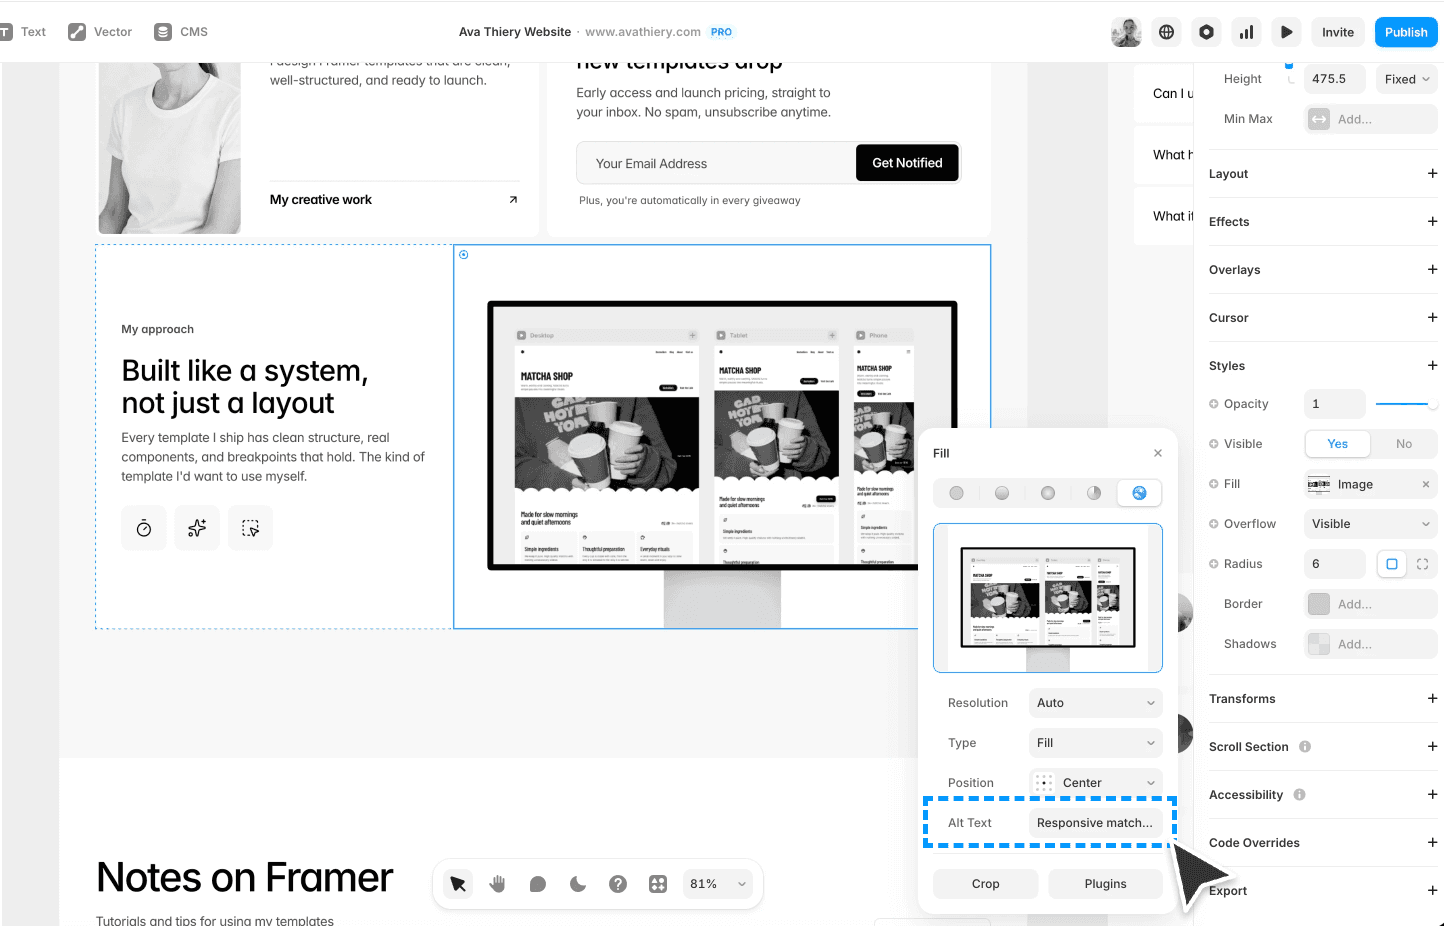
Step 3: Replace Images
Click any image to select it, then look for the Replace option in the right panel. You can also double-click most images to swap them out directly.

Images carry the visual tone of the entire site, so this step deserves real attention. A template designed with soft, warm photography will feel completely different if you replace those images with high-contrast, saturated ones.
A few practical tips:
Match the aspect ratio of the placeholder image to avoid cropping issues. If the original is landscape, use a landscape photo. Same goes for portrait or square.
Framer optimizes uploaded images automatically. It converts them to WebP and serves the right size for each screen. You don't need to compress anything before uploading.
Some images live inside components. If you click an image and the Replace option doesn't appear, it's likely part of a component. Select it and look for a component settings in the right panel. You will be able the change the text there.
Add descriptive alt text to every image. You'll find this in the Accessibility section of the right panel. Good alt text helps with SEO and makes the site usable for people who rely on screen readers. Something like "Person working at a desk by a window" is far better than "IMG_4832" or leaving it blank.
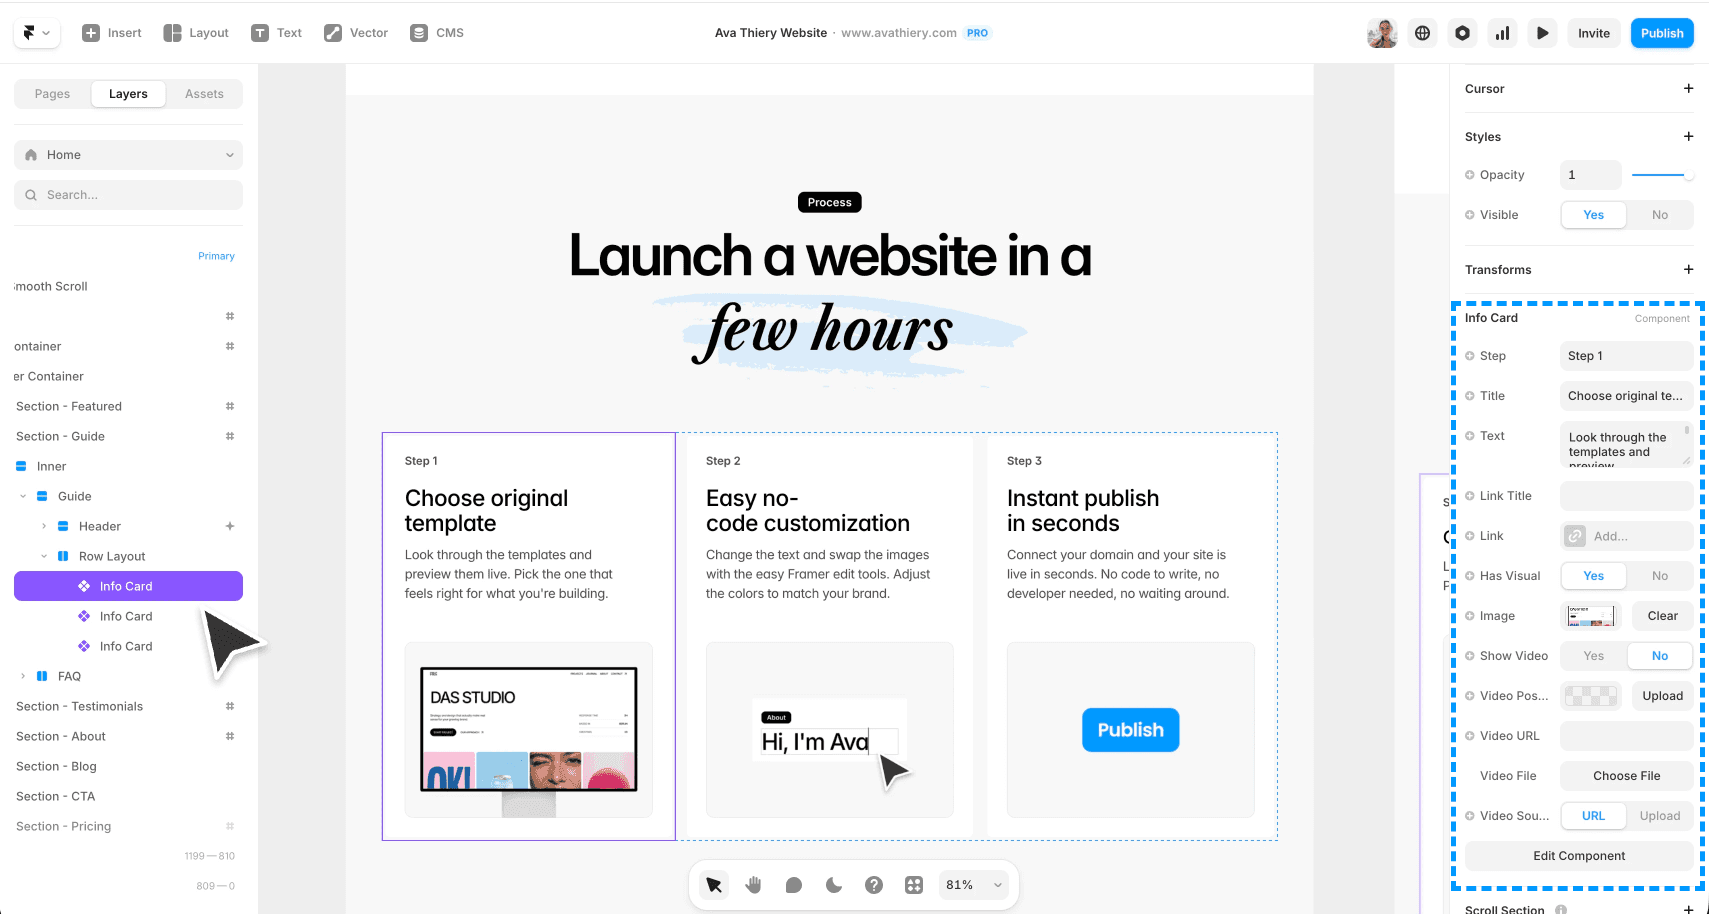
Step 4: Work with Components
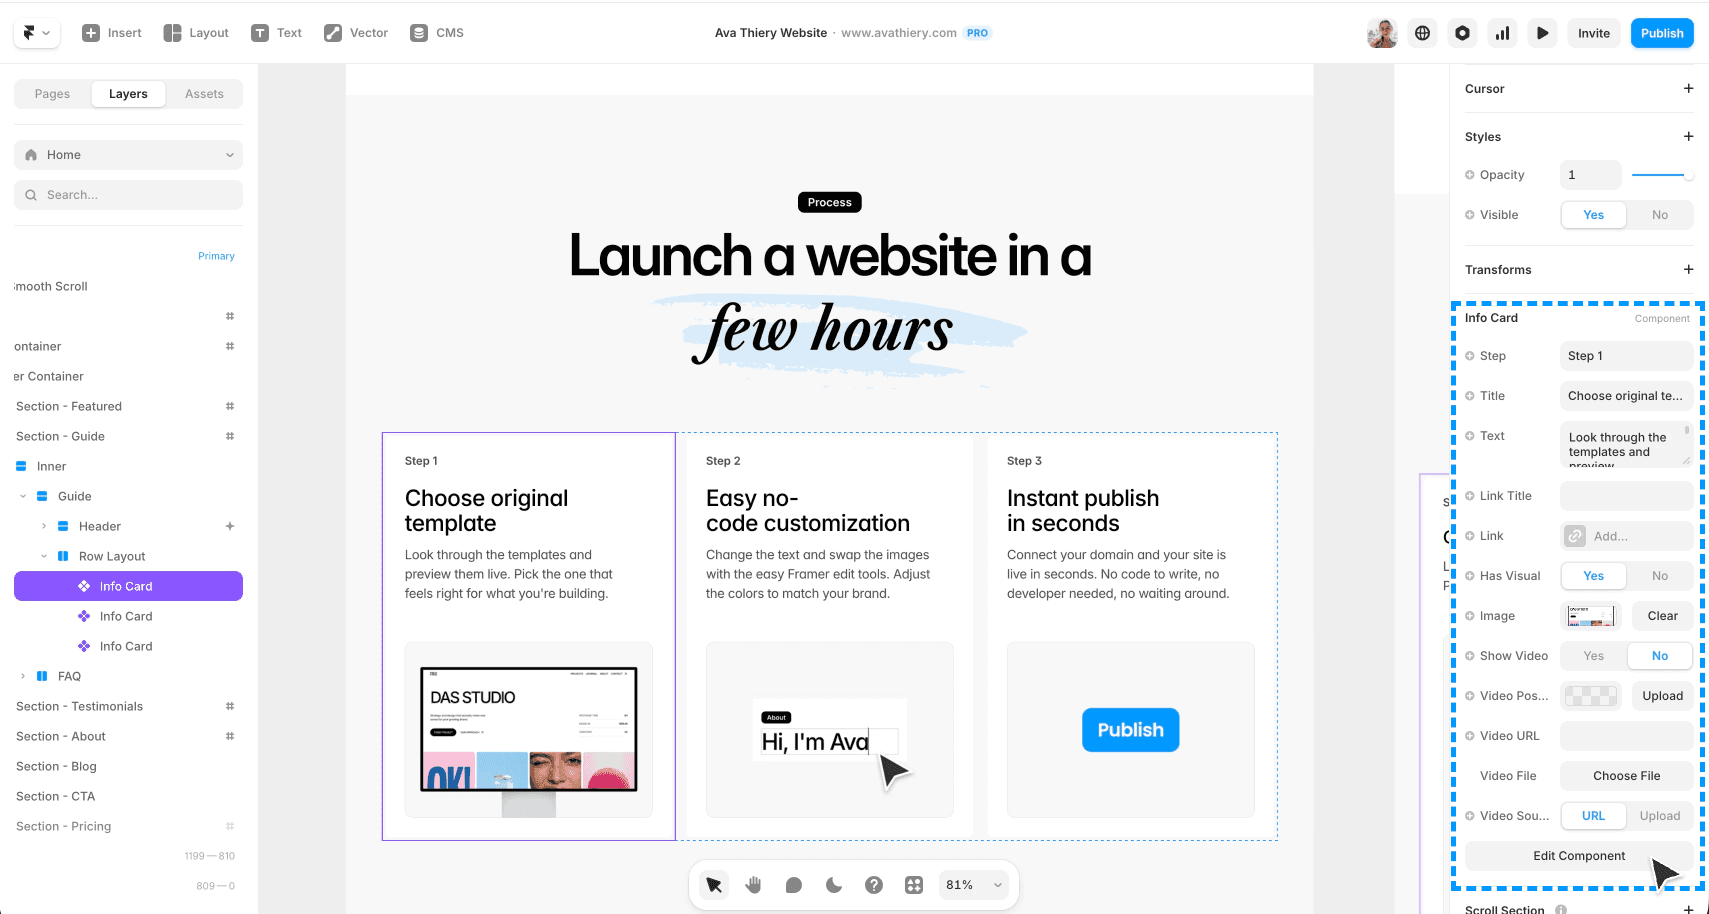
Components are the reusable building blocks of your template. Buttons, cards, navigation items, repeating section layouts. They're marked with a purple icon in the layers panel so you can spot them easily.
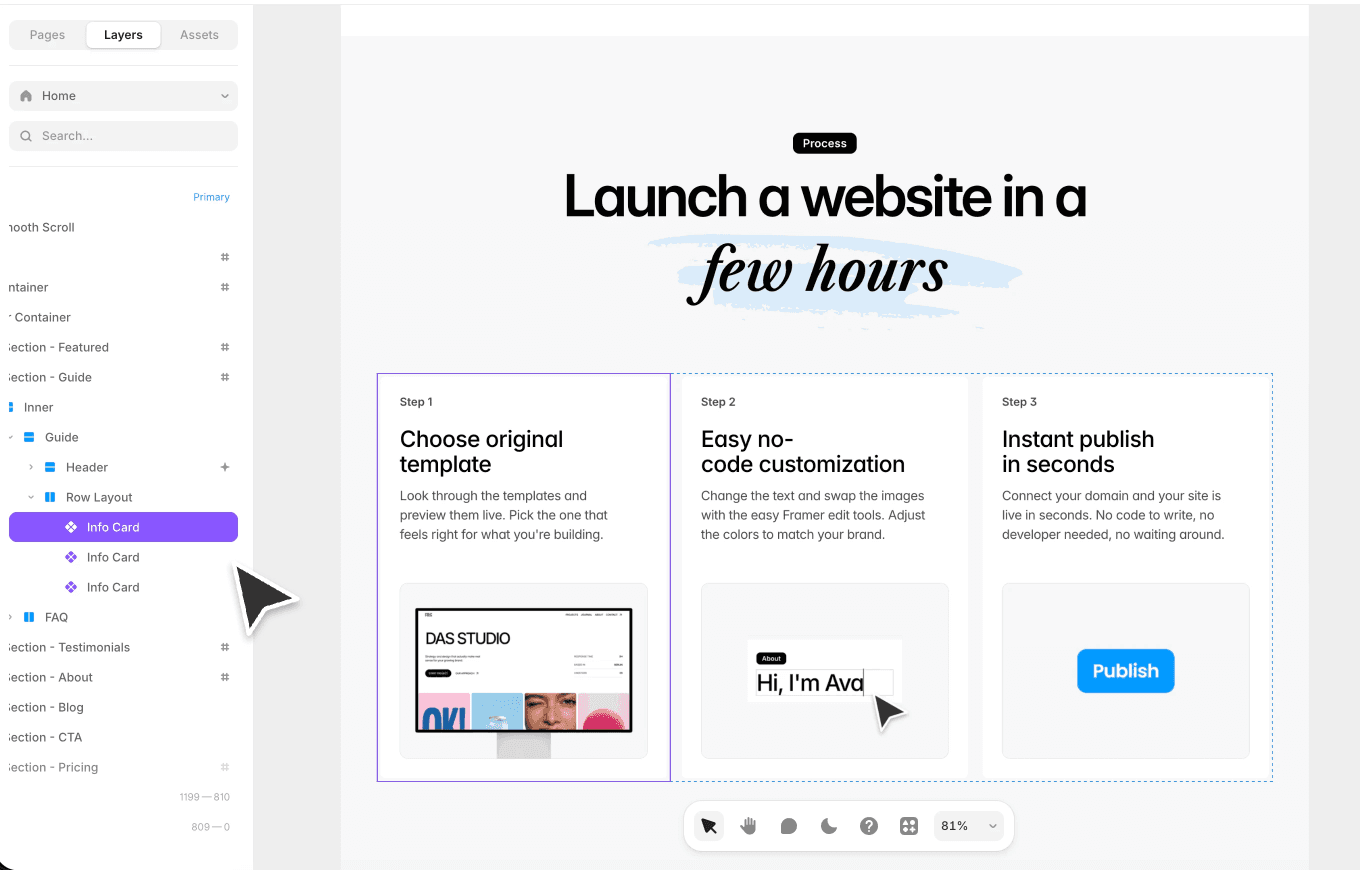
To change just one instance of a component without affecting the rest, look for variables in the right panel. These are properties the template designer made editable per instance, like a button label, an icon choice, or a background color. Variables are how you customize one card without touching the other ten.
The key rule to understand: editing the main component changes every instance of it across your site. This is great for consistency but easy to accidentally trigger. To change the main component click on Edit Component in the component settings panel or double click the component on the canvas directly.
Step 5: Set Up Your Form
Most templates include a contact form, signup form, or some other way for visitors to reach you. These don't work out of the box. You need to configure where the submissions go.
Select the form on the canvas. In the right panel, scroll to the Form section and enter your email address under "Send to." You can also customize the email subject line and the confirmation message visitors see after submitting.
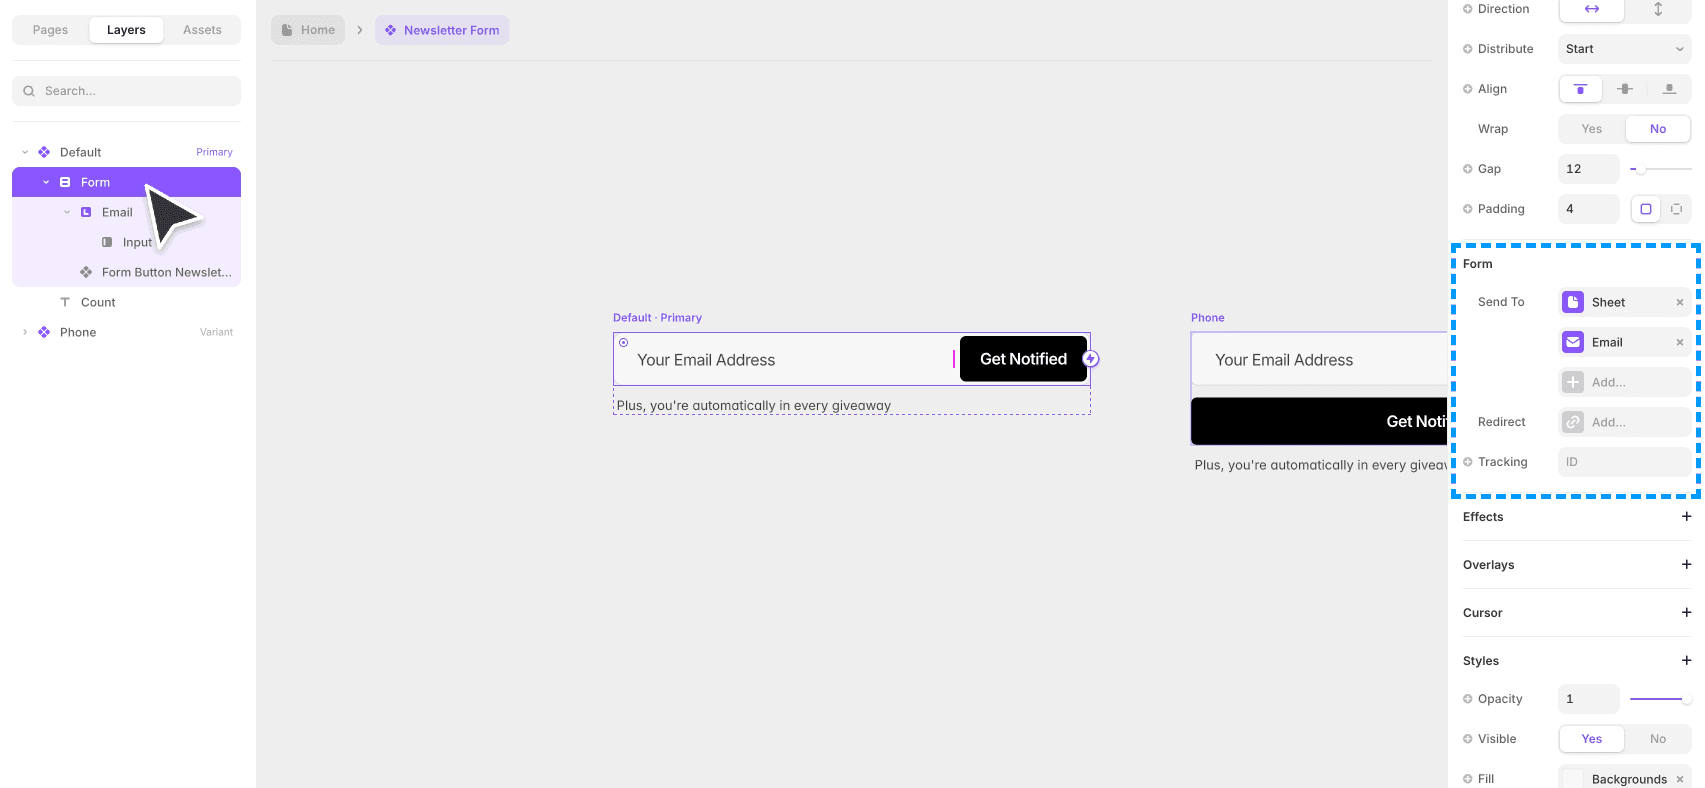
Always send a test submission before publishing. Fill out the form yourself to confirm it's working and that the email arrives at the right address. Forms are one of those things that feel small until they're broken, and a missed contact request is a real cost.
Step 6: Update SEO Settings
Before publishing, click the gear icon to open Site Settings and find the SEO section. Fill in the following:
Site title. This is what shows up in browser tabs and search results. Keep it clear and specific.
Meta description. A short sentence describing what the site is and who it's for. This is what appears in search results and when someone shares the link.
Social image. The preview image shown when the link is shared on social media or messaging apps. A good social image makes a real difference in click-through rates.
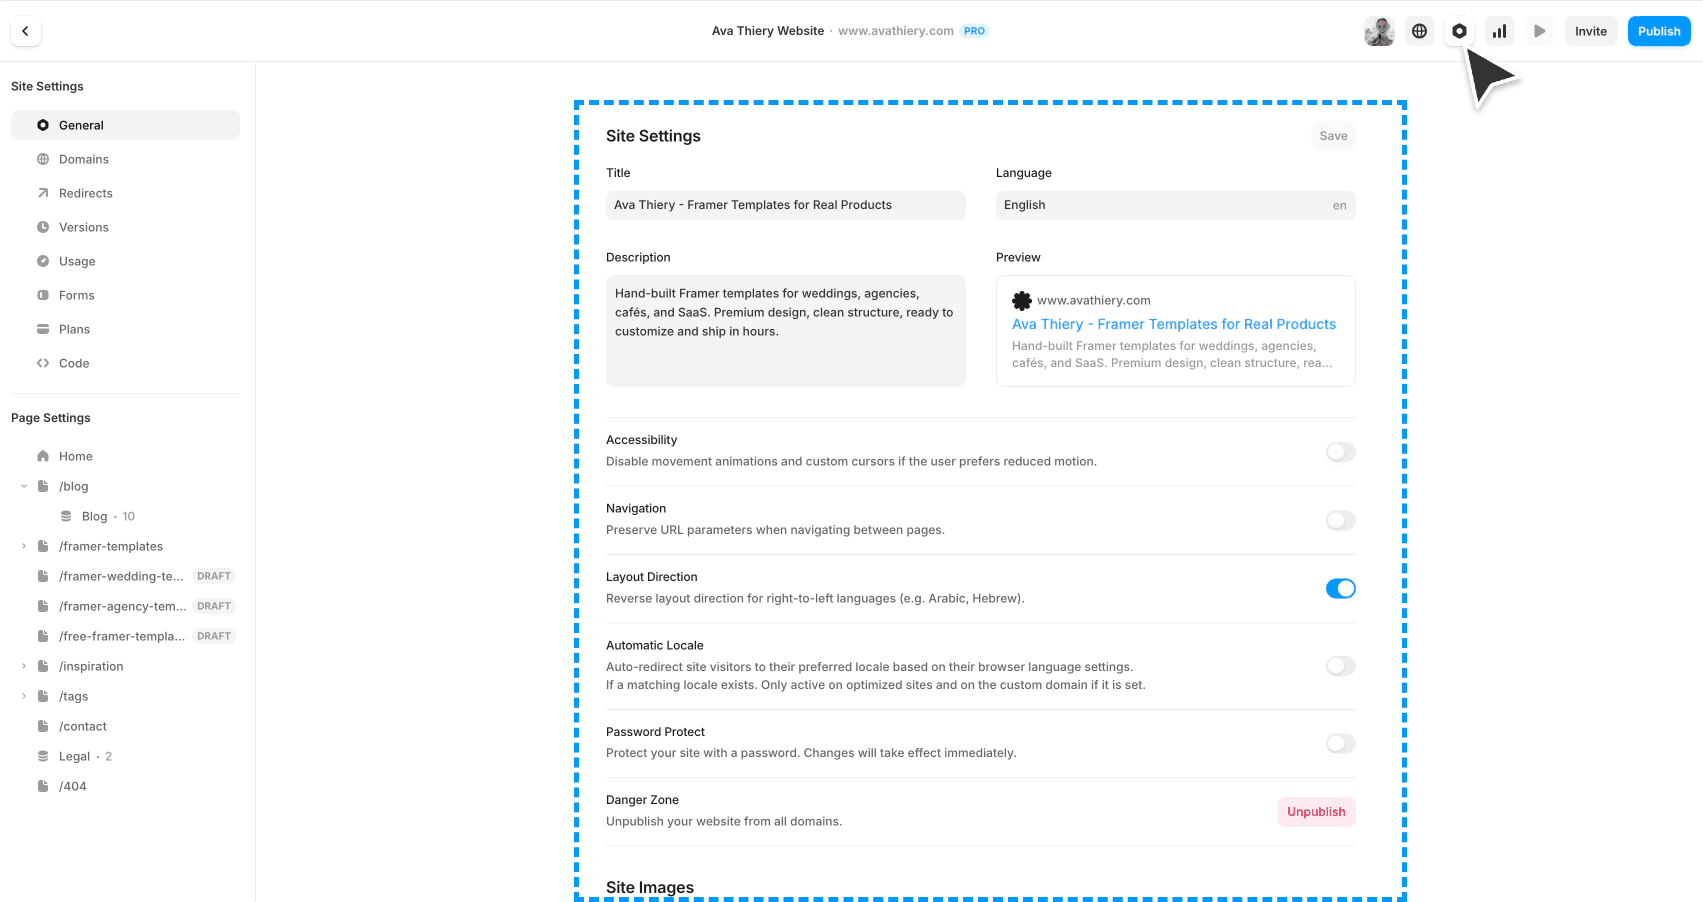
For page-specific SEO, click any page in the left panel and look for the SEO section in the right panel. Each page should have its own title and description.
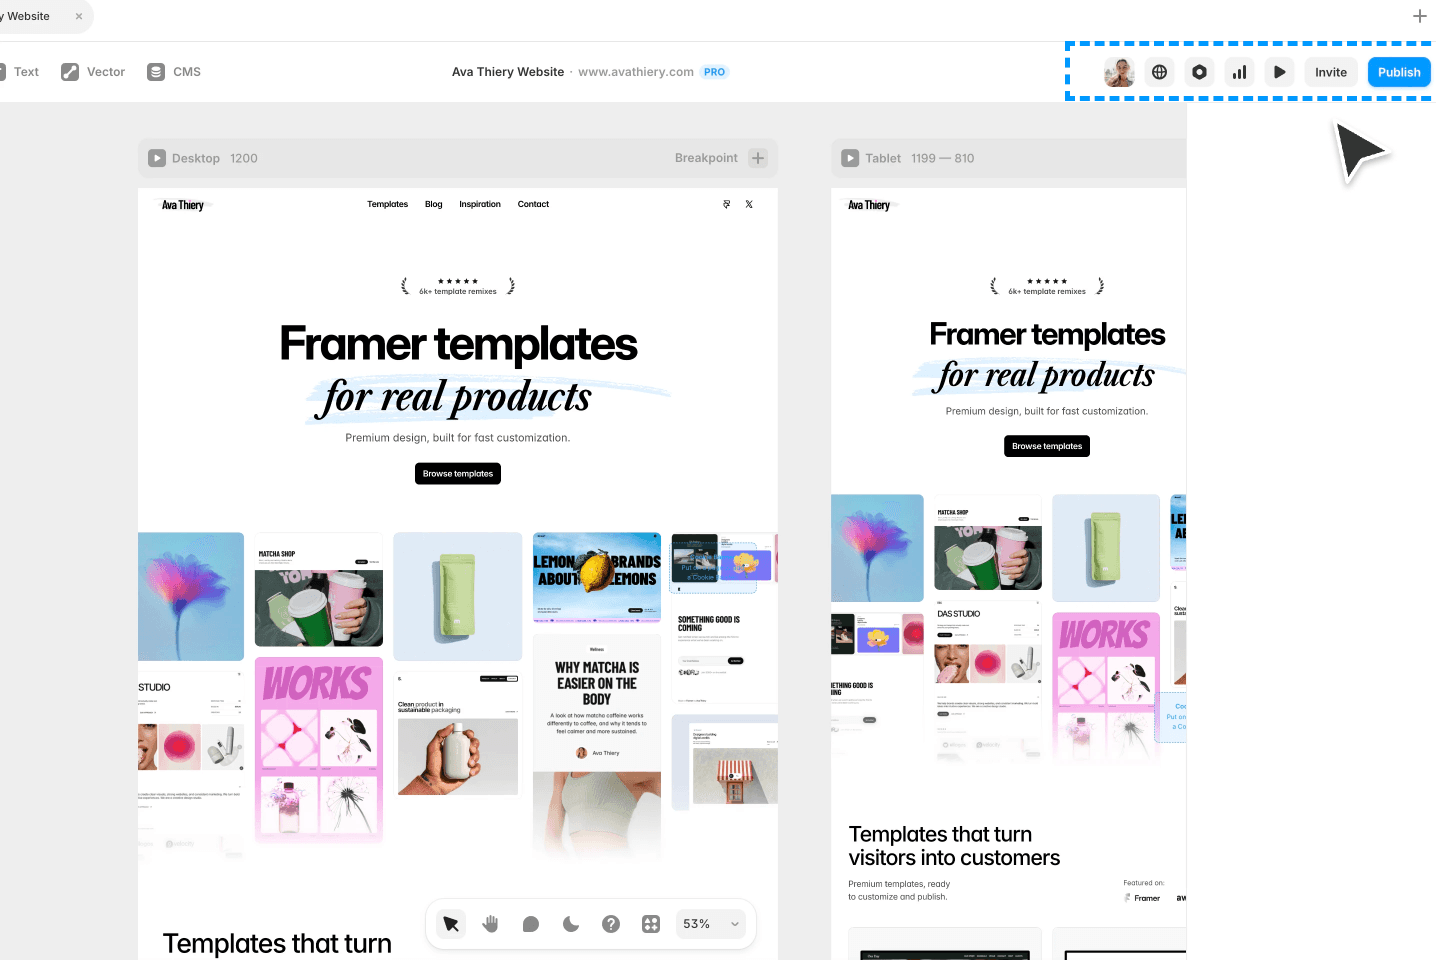
Step 7: Preview, Test, and Publish
Before going live, preview your site at every breakpoint. Check for text overflow, image cropping, readability, and that the navigation works on every screen size. Submit a test form entry. Click every link.
When everything looks right, click Publish in the top right. I'd recommend starting with a free Framer subdomain so you can share the link with a few trusted people for feedback before connecting your custom domain.
Once you're happy with the feedback round, you can connect your custom domain and go fully live.
Optional: Changing Colors and Fonts
This step is intentionally last because it's the one most likely to disrupt the design if done without some visual awareness.
A good Framer template is designed as a cohesive system. The colors, fonts, spacing, and overall aesthetic are chosen to work together. Swapping one font or one color without thinking about how it affects the rest can quickly make things feel off, even when each individual choice looks fine on its own.
The right reason to change colors and fonts is when you have a specific brand identity, a defined color palette and typography, that the template needs to reflect. In that case, a well-built template makes this straightforward.
The wrong reason is because the original colors "aren't you." If that's how you're feeling, the better path is usually to pick a different template whose aesthetic you already love rather than redesigning the one you have.
If you do want to proceed:
Changing Colors
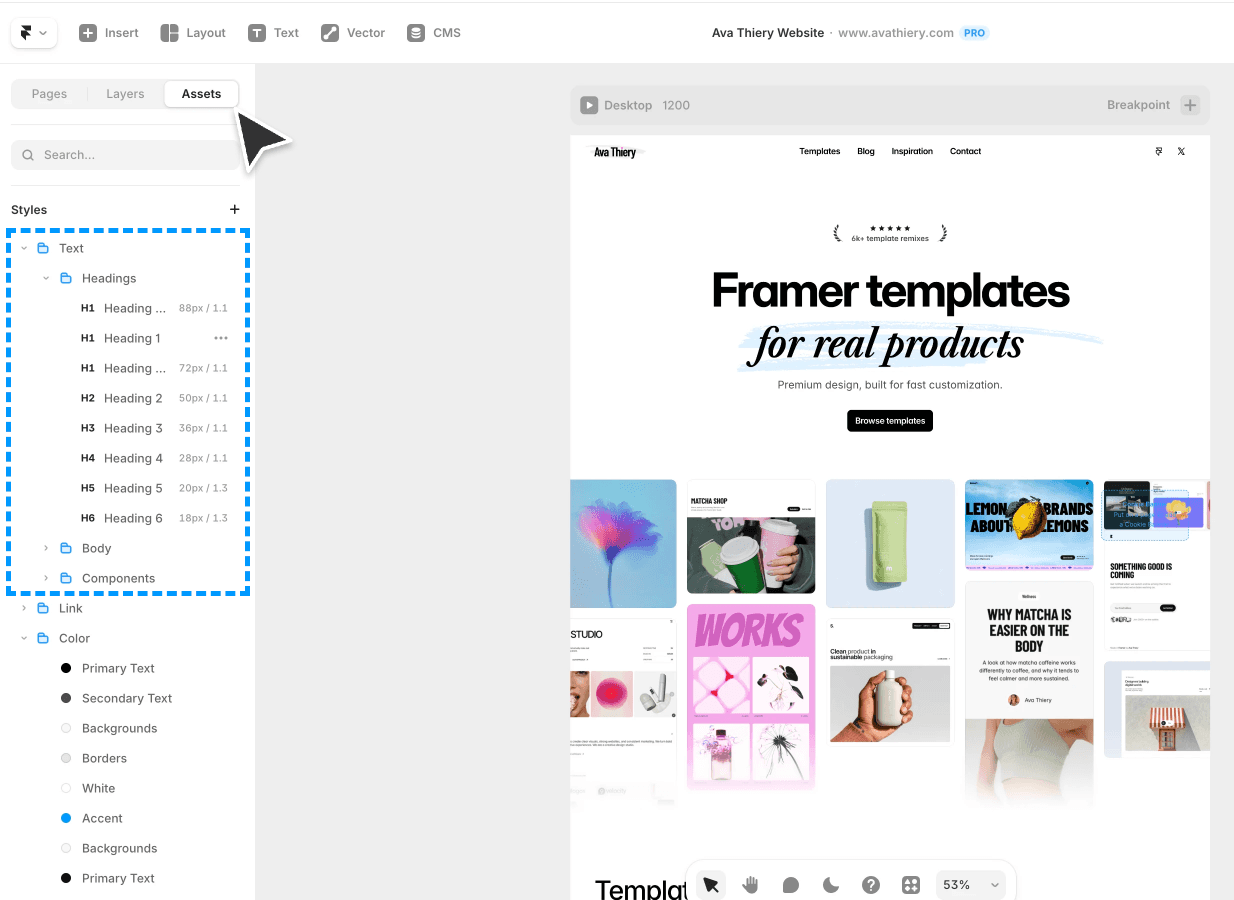
Open the Assets panel in the left sidebar and find the Colors section. You'll see a set of color swatches. These are the global color tokens for the template. Click any swatch, choose your replacement color, and every element using that color updates across the site instantly.
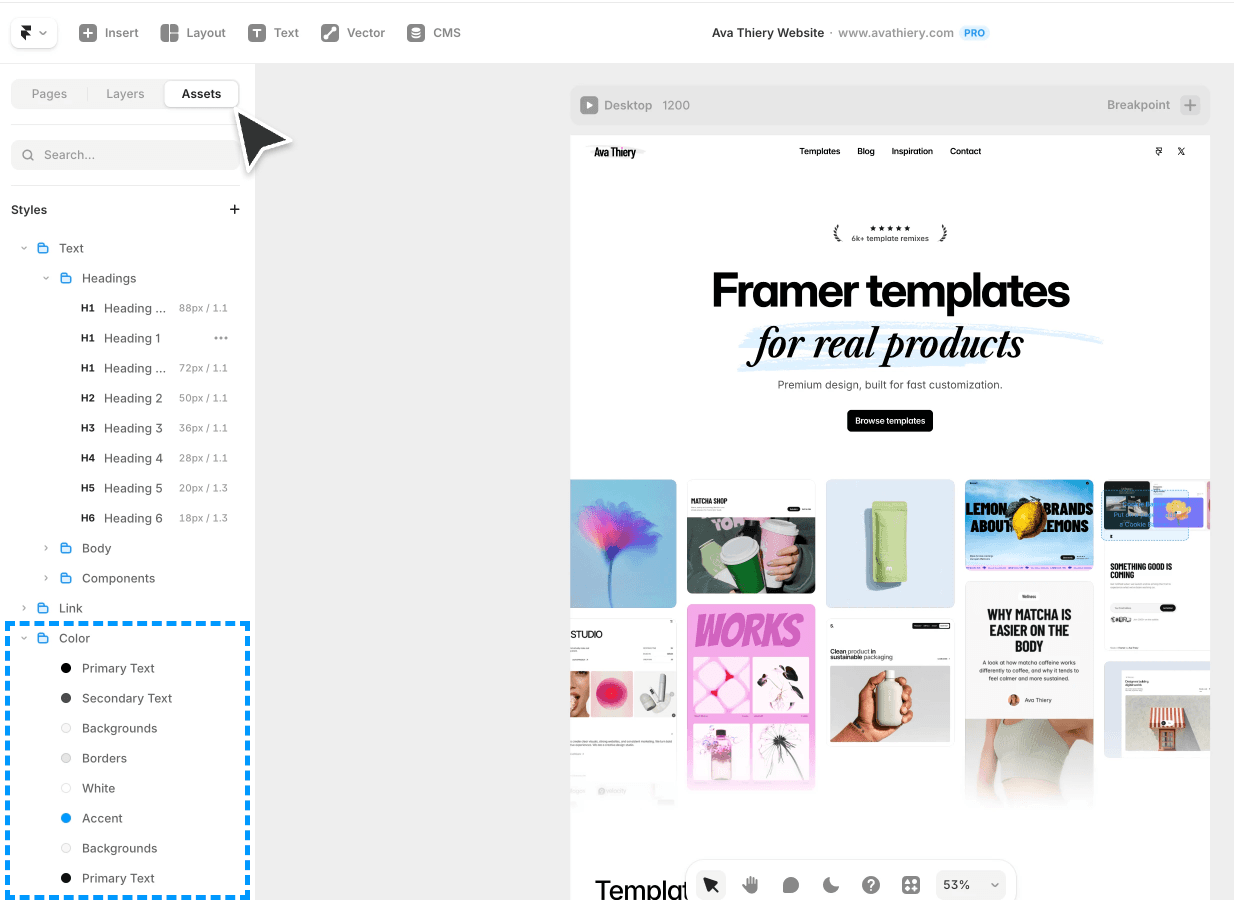
Before changing a color, take a second to understand what role it plays. Is it the primary action color used on buttons? The background? The text color? A subtle border? Replacing a color with something too similar to another color in the system creates visual confusion.
After every change, check contrast. Text needs to remain readable against its background. Preview on mobile, not just desktop, because contrast issues sometimes only show up at smaller sizes.
Changing Fonts
In the same Assets panel, find the Typography section. Click any text style to change the font. Framer gives you access to the full Google Fonts library plus custom font uploads if you have your own.
Stick to two fonts maximum. One for headings and one for body text. Check how your chosen font looks at small sizes on mobile, not just at large heading sizes on desktop.
If the template uses a distinctive display font as part of its character, replacing it often removes the thing that made the design feel special in the first place. When in doubt, leave the fonts as the designer chose them. The template looked good in the preview for a reason.
How do I connect a custom domain?
Go to Site Settings, then Domains, enter your domain name, and follow the DNS instructions. Framer walks you through it step by step and the change typically takes effect within minutes to an hour.
How Long Does It Take?
A simple one-page template, like a landing page or portfolio, typically takes 2 to 4 hours to fully customize if your content is already prepared. Most of that time is spent replacing text and images, not learning Framer.
Multi-page templates with a CMS can take a full day or more depending on how much content you have to add.
The biggest time saver is having your content ready before you start. Write your copy, gather your photos, and prepare your headlines in a separate document first. Sitting in Framer trying to write fresh copy from scratch is the slowest way to do this.
FAQ
Can I customize a Framer template without knowing how to code?
Yes. Almost everything in a Framer template is editable through the visual interface. Text, images, layout, forms, and SEO settings all work without code. Changing colors and fonts is also code-free, but benefits from some design awareness to keep the template looking polished.
Can I add new pages to a Framer template?
Yes. Right-click in the pages panel and select Add Page. You can duplicate an existing page to keep the same layout, or start fresh with a blank one.
Can I use a Framer template for more than one website?
It depends on the template license. Most templates are sold per site, meaning one purchase covers one project. Check the license terms on the template page before using it across multiple projects.
What happens if I break something?
Framer saves version history automatically. Open Version History from the top menu to restore a previous state. Duplicating your project before making major changes is also a good habit to build.
Should I change the colors and fonts?
Only if you have a specific brand identity to apply. If you just want a different vibe, it's usually better to pick a template whose style you already love rather than redesign one. The original design is a cohesive system, and changing individual elements without understanding how they interact can make the result feel inconsistent.
Can I change the layout structure?
Yes, but it's the most advanced type of customization and requires understanding Framer's auto-layout system. For most non-designers, working within the existing layout and swapping content is the better approach.
How do I choose the right Framer template to start with?
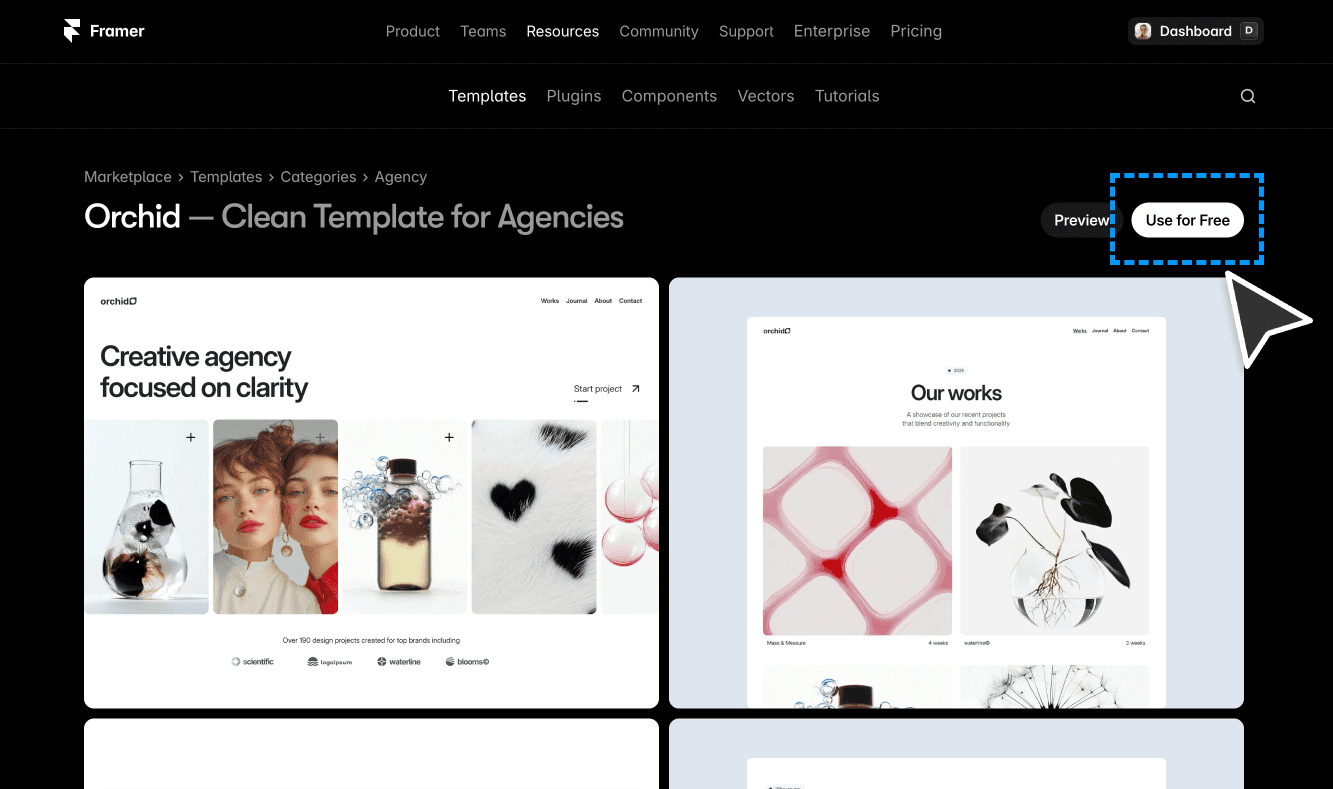
Pick one that already looks close to what you want. The closer the template's existing aesthetic is to your vision, the less customization you'll need. If you're a creative agency or independent designer, my template Orchid is built for that exact use case. For AI startups and SaaS products, my template Squish is designed to convert.
I'm Ava. I make Framer templates and write about design and development here. You can also find me on X.
I use AI as a writing tool — to improve my English, research topics, and develop ideas. Everything you read reflects my own perspective and experience as a designer.


